“As an Amazon Associate, I earn from qualifying purchases. Without Any Extra Cost to You!”
Not getting the right amp can lead to many annoyances in your music experience. You might hear a lot of distortions, buzzing noises, and less volume because of not having the proper ground on your amp.
And it can happen due to many reasons, starting from maintenance to trying to do things on your own or even replacing some internal components.
I have a colleague who is a music enthusiast and suffered a lot only due to bad amplifier grounding, and he was clueless as anyone could ever get in this issue.
I will be talking to you about the issue from a rookie’s perspective.
What is a Multimeter, and How Does it Work?
Since you are someone who is very new to this so, why not explain it to you from the ground. A multimeter is basically an electric device where we get to measure several electrical units such as Ohm, Voltage, and Current.
There are two points in a multimeter where you get to place the positive and negative nodes on the device where you would like to measure your desired units.
Firstly find the right ground.
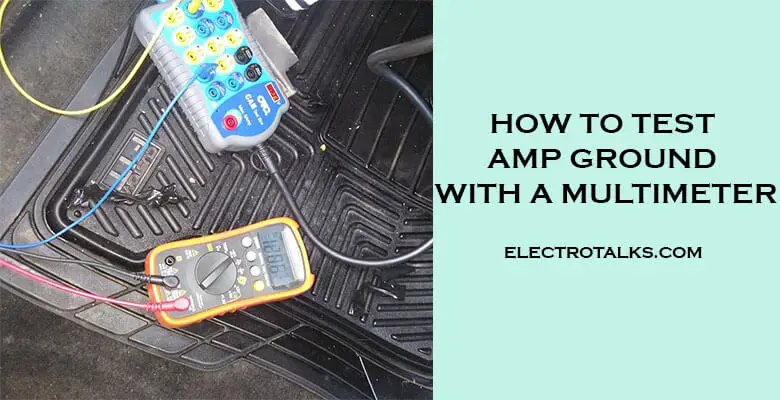
Before everything, you need to find the perfect ground. Get your multimeter and turn the meter to resistance and start checking all the screw and metal surfaces. You need to be extremely thorough in finding a suitable metal surface.
The key to finding out the correct resistance is to see how close your resistance amount is to 0. The closest to 0 resistance should be chosen. When I was troubleshooting my colleague’s vehicle, I found 0.3 resistance was the closest.
Bear in mind that you need to put the radar of the Multimeter to Ohm to measure the resistance.
Tools you require
- Digital Multimeter: The primary tool to understand what’s wrong in your Amplifier.
- Screwdriver: To pull out the screw to find metal surfaces.
Why do Amplifiers Have Bad Ground?
Let us talk about some of the common for amplifiers to have a bad ground.
Amplifier Clipping
This is to let you know that you simply have placed the amplifier where the resistance is way too high. And, your speakers have started to produce terrible noises whenever you turn the volume up; the distortions are absolutely unbearable.
The amplifier is not able to generate the right amount of voltage. This could come from lousy grounding or if the cables coming from the amplifier are not thick enough.
You might even hear a coiling noise or burning smell which could potentially make you have a complete car checkup.
Constant turning on and off
If the amplifiers are constantly getting turned on and off, then it surely is gonna die out very soon. This could happen if the wires are loosely attached or if the ground isn’t at proper resistance. Modern Amplifiers have a protection system in it which prevents them from burning or coiling.
Even after that, if the amplifier gets constantly turned on and off, then your amplifier will start to overheat, and some of the internal components that are around the connection of the amplifier might get damaged because those internal components weren’t supposed to handle so much resistance drops.
You might even require to change the amplifier if it gets too late.
Overuse of Protection Mode
A protection mode is there to prevent your amplifier from damaging along with some internal parts. Usually, amplifiers get into protection mode when it becomes too heated.
Now some amplifiers even go to protection mode if it is placed improperly or if the wires have started to become shaky.
We must ensure that the amplifier is getting enough airflow, and for that, we need to understand which is the perfect place to put it.
How to Calculate Amp Ground with a Multimeter [Understand Proper Ground]

Now that you’ve found the correct resistance or the right ground, it is time to test if you actually have gotten the perfect ground so that you can hear the crystal clear music you’ve desired for so long. We will check if there are voltage drops or not, and for this process, I will try to keep things as less technical as possible.
1. Start the Vehicle
To start off, you need to start your vehicle and check if everything is working or not. By everything, I mean your sound system, the amplifier, and the battery.
2. Turn up the volume
Now turn up the volume and troubleshoot to notice if there are any differences between what you hear now and what you used to hear. Suppose you see that there’s not enough volume or the voice isn’t clear enough, or there are distortions. In that case, there’s evidently a voltage difference going on in the grounding.
3. Voltage calculation on Car’s battery
It will now get a bit complicated, but I’ll keep things simple and steady for you. Take out your multimeter and put it on the Voltage unit. Now place the pins of the multimeter to the terminals of the battery of your vehicle. Then, you should get the reading of your battery in volts. Please write it down as you will need it later.
4. Voltage Calculation on the Amplifier
For the next phase, you will now need to get the reading of your amplifier. So, place the two pins of your multimeter to the two positive and negative terminals of the amplifier. And, just like the battery, you need to write down the reading of the amplifier as well.
Keep in mind that the voltage of the battery is supposed to be higher than the amplifier’s voltage.
5. Amplifier Input calculation
The process is relatively simple; now, subtract the voltage of the car’s battery from the voltage of the amplifier. The voltage difference should let you identify whether or not if your sound system is producing.
To understand what is the correct difference, you need to know that if the voltage is 0.5 or above 0.5 volts, then your concern is actually correct. Your system has been producing less volume or bad sounds due to voltage drops. Voltage drops are inevitable, but the key is to not get it above 0.5 volts.
It usually happens due to bad grounding where the resistance is too high. You may need to compare the voltage amounts of different wires where the electricity is getting flown. Also, you may require to get a larger power and a ground power because it simply isn’t producing enough power and voltage due to its small form factor.
You may need to start over with all the steps I’ve mentioned above, starting from finding the right ground.
Frequently Asked Questions
What’s the difference between a digital multimeter and an analog multimeter?
The key difference between the two is that an analog multimeter has a pointer where you get to find the reading, and the digital multimeter has a screen to show the readings.
An analog multimeter is cheaper but bulkier, whereas a digital multimeter is pricer but lighter. I would recommend you to get the digital multimeter because it shows accurate reads.
How do I know that I have a bad ground?
Just like I have mentioned above, it has to be done through a thorough inspection of all the screws and metal surfaces. The perfect read should be what is the closest to 0, and the unit is in Ohms. If the amount is not close to 0, then clearly you have a bad ground which is why you are not getting optimum sound.
Will my amplifier work if the ground is connected to a non-conductive surface?
The answer is clear, no, it cannot. Because your amplifier needs electricity to produce audio, it receives electricity and the correct voltages based on the testing and placements done.
The wiring of the amplifier is done with the screws and metal surfaces that are conductive by default. If the wiring were done with anything non-conductive, then it wouldn’t have run at all.
Wrap Up!
Thus, I hope I have managed to assist you in this somewhat technical issue. Being someone who is not related to this issue can be overwhelming, and for that reason, I tried to explain everything in the most uncomplicated I could possibly do.
Everyone deserves to enjoy good music, and you may not be able to do due to poor grounding. That can happen because of several reasons, which I have explained above. Once you understand a few basics, then the issue won’t really seem like such a big deal.
It appeared complicated to me when I first faced it as well. Still, after helping my colleague, I fully understood this issue. Hence, I hope you are good to do in this problem, and you’ll help others who are facing this exact problem.
