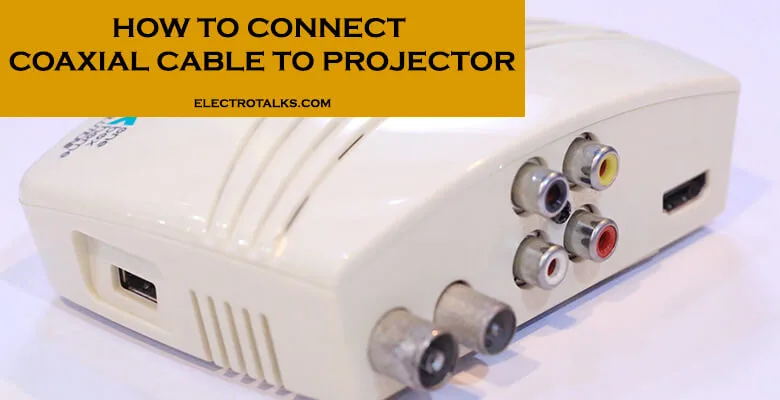
Coaxial cables consist of an inner conductor enclosed by an insulating layer that is itself surrounded by conductive shielding on all sides.
Many of them also have an insulated outer jacket as an additional function. Their connection to the projector allows them to improve the audio system.
Coaxial cables are light, simple to install, and have extraordinarily high life expectancy when properly maintained. Fiber has a higher data transfer rate and is more effective than coaxial cable.
It is particularly well suited for networking opportunities found on a company campus or university campus.
This article includes simple steps to connect these cables to a projector and the guidelines and tips to follow.
The article also contains answers to the frequently asked questions to help understand how to operate the projectors. Go through the article keenly for a better understanding.
Connecting coaxial cables to a projector
To connect coaxial cables to your projector, there are key steps that you need to follow as discussed below;
Step 1: Make sure that you have all of the necessary materials.
To select the channels, you will require an additional television, cable box, or VCR/DVD combo if you have one available.
As well as digital input cables, which are white cables with yellow tips that are usually seen on electrical devices such as video game inputs, you should get a large number of them so that you may run them from the channel turner to the projector and arrange the various gadgets on screen.
Step 2: Determine the most appropriate location for your projector.
Select the turning device that will be used. First, connect the input cables of the data projector to the “out” video cable slots on the back of a television.
Then attach one end of the power cord to the video inputs on the database projector and the other to the power supply.
If everything is done correctly, the projector will display whatever is currently displayed on the television after it has been set up.
A digital cable box makes it substantially easier to manage your television viewing experience.
Using a video “out” cable from the digital cable box to the input “in” slots on the projector, connect the input wires to the projector.
If you utilize a VCR/DVD combo, it will perform similarly to the television.
Locate the video “out” cable slots and attach the wires to them using the appropriate tools (again, they will be red, white, and yellow and will have the word “out” underneath them).
Then connect one end of the cables to the “in” cable slots on your projector and the other end to the other end of the wires.
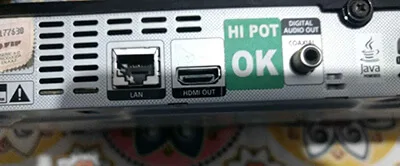
Step 3: Connect the coaxial wire to the turner device.
If it is your television, the coaxial cable is hooked into the television as if you were viewing a thread on tv.
The digital cable box will include a port for the coaxial cable, and it is into this port that the coaxial wire will be plugged in. The fact that the VCR/DVD combo has a coaxial “in” is a bonus.
It is necessary to tune to various channels using the cable box, television, or VCR/DVD combo after the coaxial connection has been made and installed.
You can search for channels on your digital cable box, television, or VCR/DVD combo by selecting them from the device’s menu.
It is vital to know that if you are using television, the projector will only show what is currently being displayed on the television. Consequently, if you switch off the television, the projector will show a blank screen.
Make sure that the video input signal on the projector is set to “video” to capture the images.
This is achieved by hitting the input key on the projector’s or remote control’s keypad until the display or signal of the input cable station shows on the screen.
Step 4; plug in a source of sound
Many of the most cost-effective projectors do not produce a sound of excellent quality.
Those who like to use a separate sound source, such as a surround sound system, need to unhook only the RED and WHITE cables from the project and plug the wires into the RED and WHITE audio “in” slots on the sound source.
The required slots will be given if you intend to use a surround sound system.
After plugging it in, all you have to do is switch on the surround sound system and select the proper audio channel.
The sound will then be broadcast through the speakers in your immediate vicinity of the television you are currently watching.
Frequently Asked Questions
u003cstrongu003eWhich is the main disadvantage of projectors?u003c/strongu003e
A second sound system is required for large meetings if your projector is being used. Depending on how the projector is installed, the cost of installing it can be prohibitively expensive. u003cbru003eu003cbru003eIts other issue is that it can only be used on a bright surface, making it difficult to use in less lit environments.
u003cstrongu003eHow to sound connected to a projector?u003c/strongu003e
A sound source must be connected. Many of the most cost-effective projectors do not produce a sound of excellent quality. u003cbru003eu003cbru003eThe RED and WHITE audio u0022inu0022 connectors on the project can be used to connect to a second sound source, such as a surround sound system, by simply disconnecting them and plugging them into the RED and WHITE audio u0022inu0022 connectors on the sound source instead.
Conclusion
In conclusion, Projectors have become crucial in various settings, including lecture halls, conference rooms, and offices. These projectors are used to deliver presentations to big groups of people.
As previously noted, selecting a projector with the appropriate features for the intended use can assist you in expanding your field of vision.
As a result, you won’t have to worry about your small home television; instead, you may invest in a projector. It is more critical to make sure that the cable connection is correct.
Portable projectors are more advanced and have more valuable features. The memory viewer, as well as USB display functionalities, are examples of such elements.
Always ensure your connections are tight and well plugged. If not, the connection will not be successful. Where a need is, contact a professional.