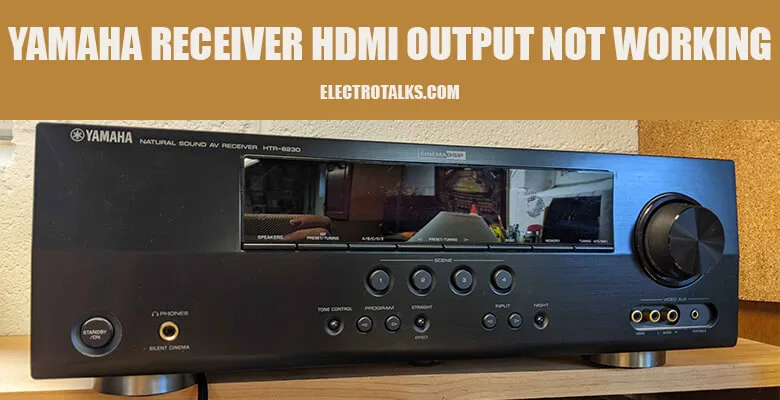
A Yamaha receiver aids in displaying video signals. It is normal for the output to stop working at some point. If this happens to you, you should not worry too much as we have a guide.
Follow the guidelines on this article and take caution where needed.
To ensure the TV uses the Receiver’s HDMI input, check that the Receiver is set to the TV’s HDMI input. If you aren’t receiving video, hit the remote’s Setup button.
Alternatively, you can change the HDMI wire from the Receiver to the TV. If the Receiver is malfunctioning, servicing is required to fix it.
In this article, you will find the steps to follow when fixing your Yamaha receiver. Follow the guidelines and tips to get the correct outcome on the same.
The article also includes answers to some of the frequently asked questions. Where there is a need, contact a professional to help you out.
Fix Yamaha receiver HDMI output not working [Video & Audio Output Problem]
What to do if the video signal does not output
It is necessary to have the HDMI video sources linked to the Receiver to receive HDMI video.
DVD/Blu-ray player into HDMI 1, cable/SAT box to HDMI 2 are examples of such connections.
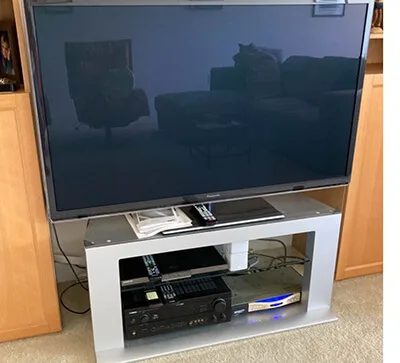
After that, connect the HDMI output from your Receiver to an HDMI input on the television system.
Ensure your TV is linked to your Receiver; make sure it’s set to an HDMI input. Try hitting the Setup button on the remote control if no video signals are coming in.
If everything goes as planned, you should see the TV’s on-screen configuration menu.
Try changing the HDMI cable that connects the Receiver and television if the problem persists.
If the visual signal is still not being output to the television, the Receiver likely needs to be repaired.
The HDMI sources must be linked in the manner described above, after which you must pick the HDMI input you want for audio.
Depending on your sources, you may need to adjust the HDMI audio output parameters.
If you can still receive audio signals, you might attempt swapping out all the source cords as a last resort. If there is still no audio, check on the speakers.
You might be interested in the receiver for 8-ohm speakers
How to fix the problem with output on the speakers
Run a speaker test tone to ensure that all of your speakers are working correctly. The TV must be connected to the Receiver via HDMI out, and the TV must be connected via HDMI to conduct this test successfully.
1. On the remote control, press the Setup Button to begin.
2. It should be possible to see View on Screen on the Receiver’s front panel, and the configuration menu should be shown on your television screen.
3. To navigate to the Speaker, press the Left/Right arrow keys on your keyboard.
4. This will cause the speaker configuration window to appear on the television screen.
5. Click the Enter Key on the remote control after navigating down to Test-Tone.
6. On the television, the Speaker Test Tone window will appear.
7. The test tone will begin to play when you move the arrow down to the ‘On’ button. (Always make sure the loudness is around -35 before starting.)
8. As soon as you’re finished, press the Setup button on your remote to exit.
When the test tone is played, it is played alternately from the Left and Right speakers.
On the front panel, you will notice that the speaker indicator lights are blinking, indicating that the test tone should be coming from the correct speaker location.
The connections and wiring should be checked and verified if you are not receiving any test tones from any speakers.
If everything is in working order, the Receiver will require service to be repaired.
It is necessary to check the connection of a specific speaker if the rest of the speakers do not receive a test tone. Try swapping the Speaker to another term as a test to see if the connection is still working fine.
For instance, to determine if the Center Channel is not producing a test tone, replace it with the surrounding left Speaker and conduct the test again afterward.
If the Center speaker channel is now making a tone with the left surround speaker, it is possible that the original Center speaker or the cabling is to blame for the problem.
If it does not, and it still does not produce a test tone, the problem is with the Receiver, which would require service.
Frequently Asked Questions
How can one reset a Yamaha receiver to a factory setting?
To begin, turn off the machine and place it on standby. Continue to press and hold the Straight button while maintaining control of the Power button as well.
Advanced Setup will appear on the screen when you select it. To bring up the INIT-CANCEL menu, click the Right Program Arrow button several times.
To bring up INIT-ALL, click the Straight Button repeatedly. Using your remote control, turn the Receiver on and off several times. The Receiver has been reset for the time being.
What makes the HDMI input stop working?
If the HDMI connection is still not operating, there may be technical issues with the HDMI port, cable, or devices.
This will take care of any issues you might be having with your cable.
If replacing the cable does not solve your problem, try connecting your HDMI device to another TV, monitor, or computer.
Conclusion
In conclusion, if you need to service your Receiver, enter your Zipcode to see the nearest center. We will dispatch one of our regional repair facilities if there isn’t one within 100 miles.
Choose from among them and get in touch with them to schedule a repair. Your company will not require you to obtain an authorization number.
Having your sales receipt on hand will be required for warranty service.
It is recommended that you include any accessories in the box with your goods and provide them with a detailed inventory of everything you have shipped them along with a copy of the receipt.
To retain your records, make a copy of the list and write your serial number on it as well. When packing, if you do not have the original box, be sure to use Styrofoam as a foundation.
There is insufficient protection from simply wrapping it in bubble wrap. When a unit comes in poor condition, it will be rejected.